
I know there are so many different and fun things to do to make your blog/website amazing on WordPress and one thing that’s super helpful is if you have certain Categories (e.g. “Blog Battle” or “My Stories” or “Author Advice” or whatever). See, I’ve categorized this post as “Author & Blogger How To” because it falls under the realm of helping authors and bloggers figure out how to do something. 🙂 See how clever I am?
To make such a “category” go to your side menu for the post you are creating and find the button that says “Add a New Category,” which you will click then type in whatever category name you need, like “#BlogBattle Stories.”
Now, back to my “Author & Blogger How To” category I want to add it to my menu so that any time an author or blogger needs some how to advice they can just go to my menu and click on the corresponding menu option.
From your blog, go up to the upper left hand corner and click on MY SITES

next you’ll locate MENUS down on the left and click it.
It will direct you to a screen which looks something like this: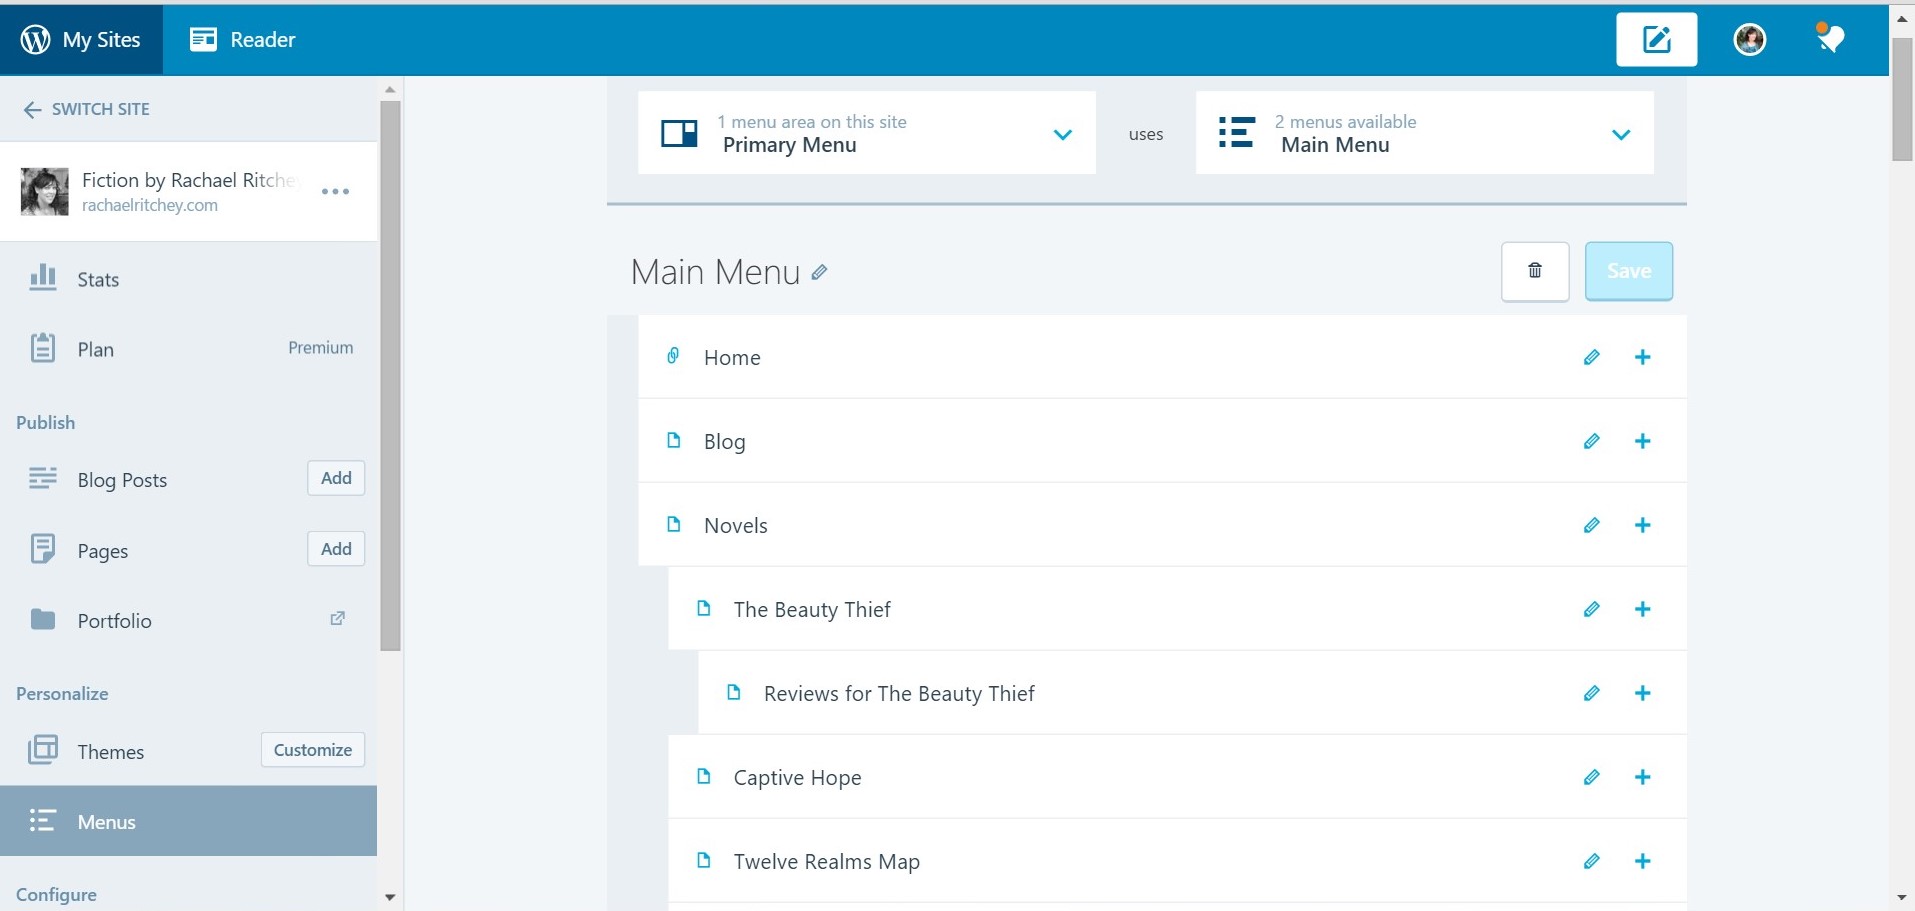
You’ll notice all the little + symbols over to the right. If you click on one of those it will bring up two new options for you. One to place a new main menu item above (which can be moved around later) and one to become a subcategory to whichever “+” symboled menu option you clicked. In the next screen shot you can see that I chose the + next to “Interviews & Guest Posts” and I will be choosing the main menu spot above, not the submenu option below it.
Once I have clicked on “Add menu item above” it will bring up a box to type in whatever you want to name the menu item an below it is a list of where the site can pull the posts from: Page, Link, Category, Tag, etc. Choose Category, which will then bring up the list of categories you have saved for organizing your posts. I will choose “Author & Blogger How To” for this example.
After you’ve filled out the blue box and chosen whichever category you want to use, click OK:
Now it will look like this:
BUT don’t forget the final step! You need to scroll back to the top of your menu and press the SAVE button or all your work will be for naught!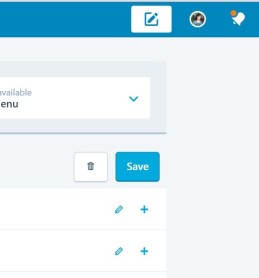
As soon as you’ve saved your new menu settings you can go look at your handiwork on your blog!
And there you have it! As soon as you get the hang of it you’ll be creating amazing menus to help your readers navigate your site in no time!

Please leave a comment, question, or idea! I’d love to chat!